Step 1
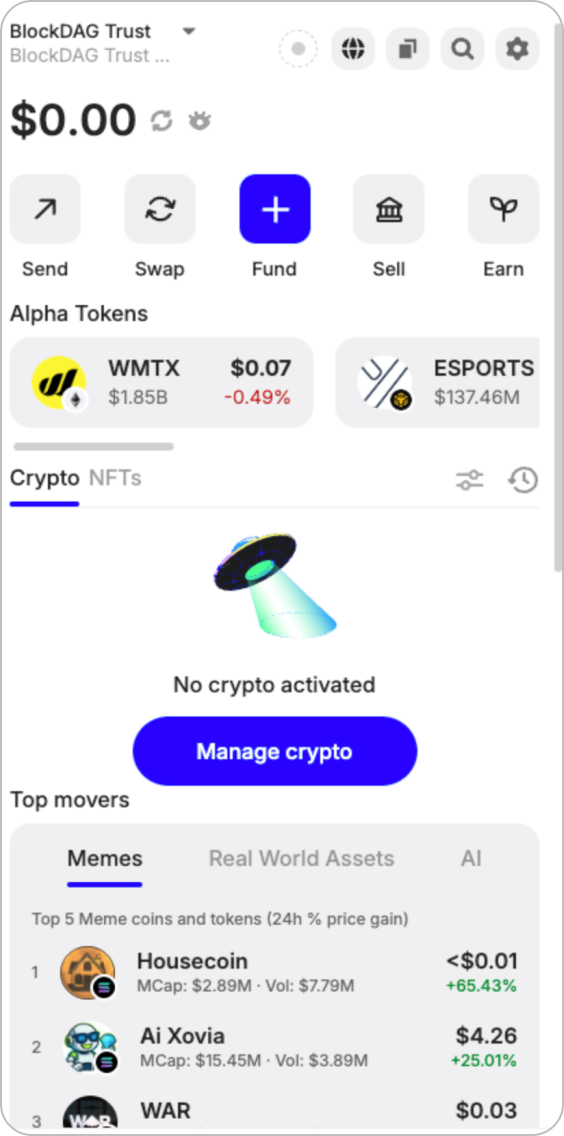
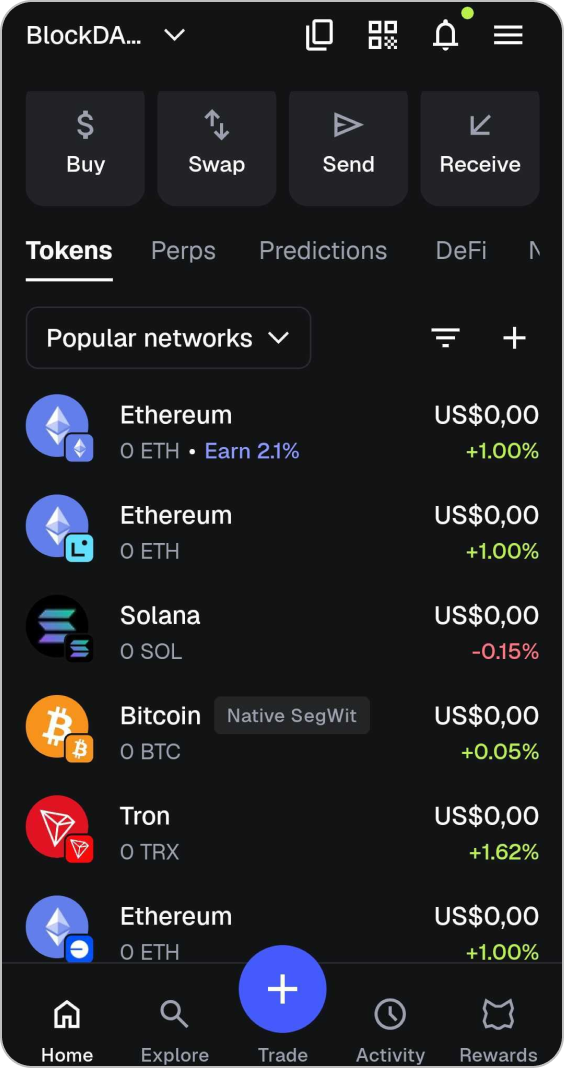
Open Metamask:
Click on the "Popular Network" dropdown on the Metamask homepage.
Step 2
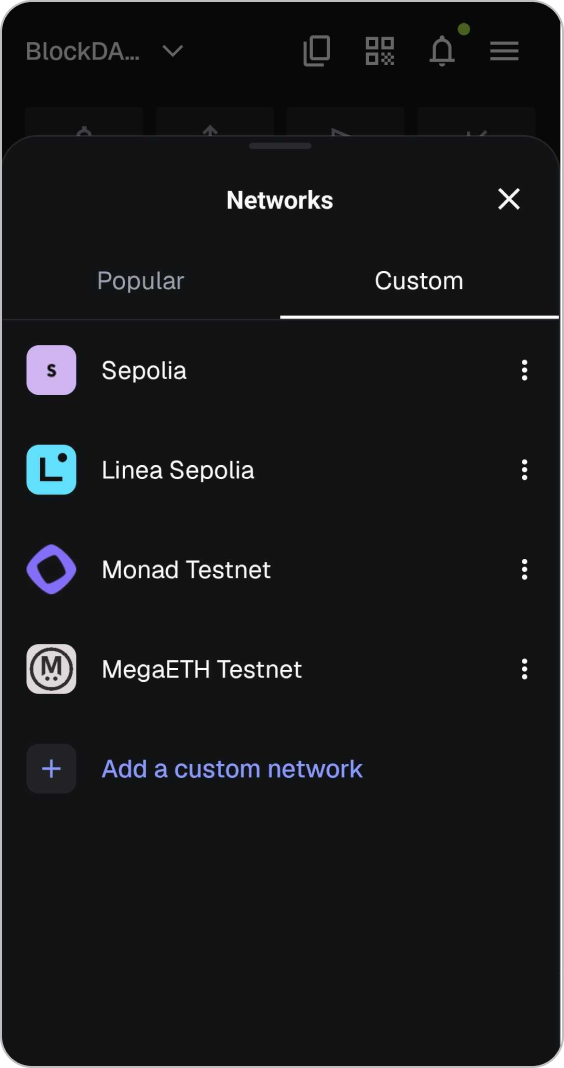
Add Custom Network
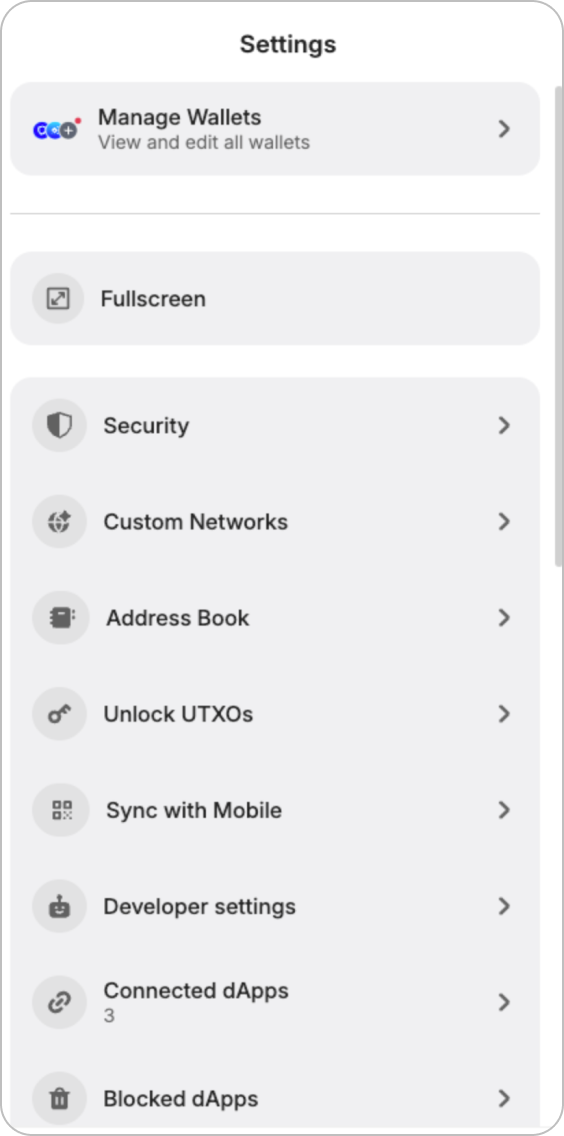
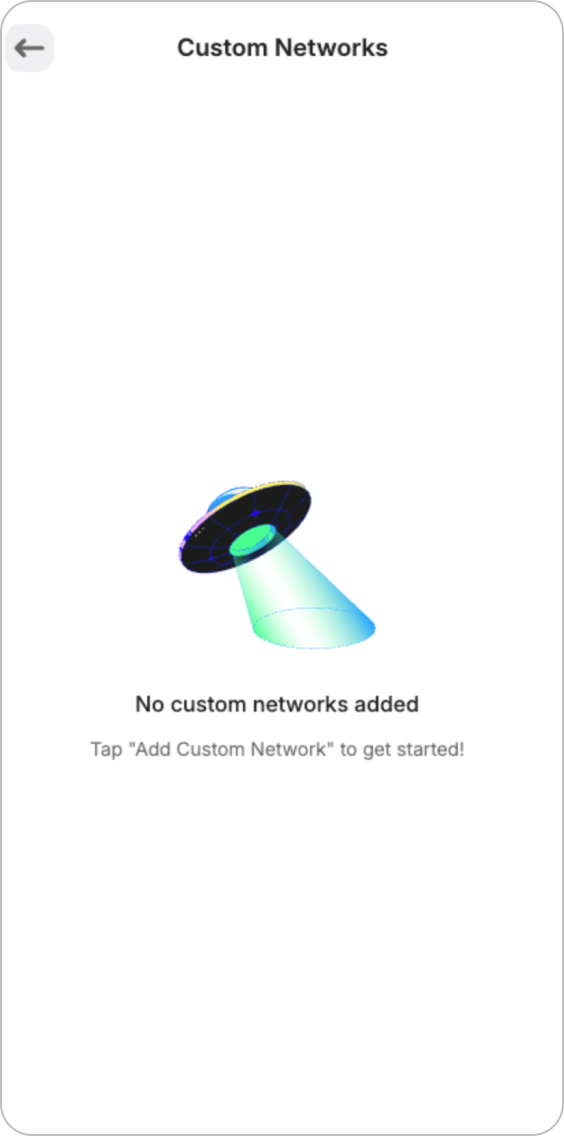
Go to the "Custom" tab at the top and click "Add a custom network".
Step 3
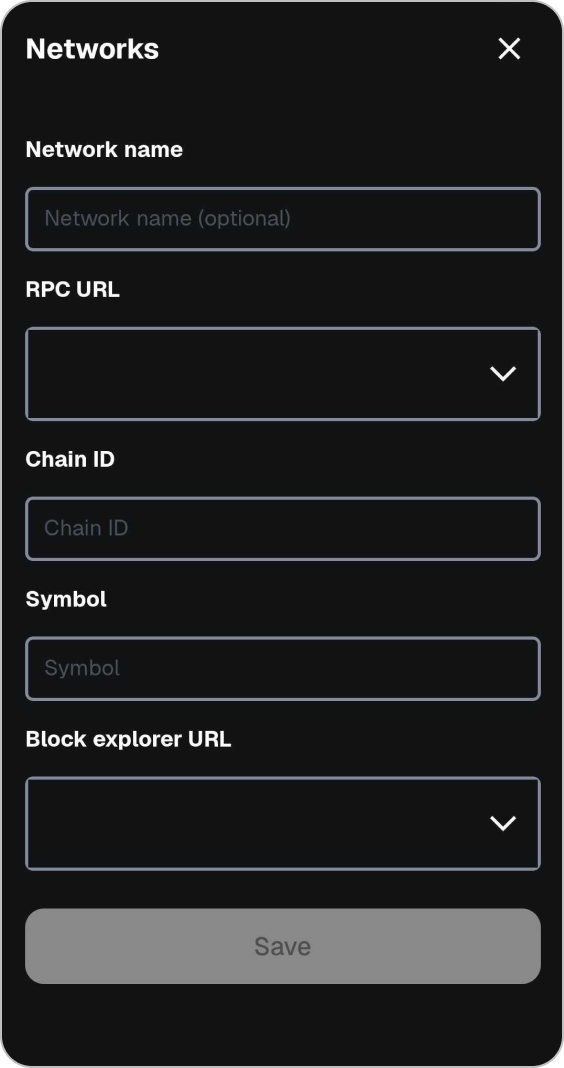
Load BlockDAG network name
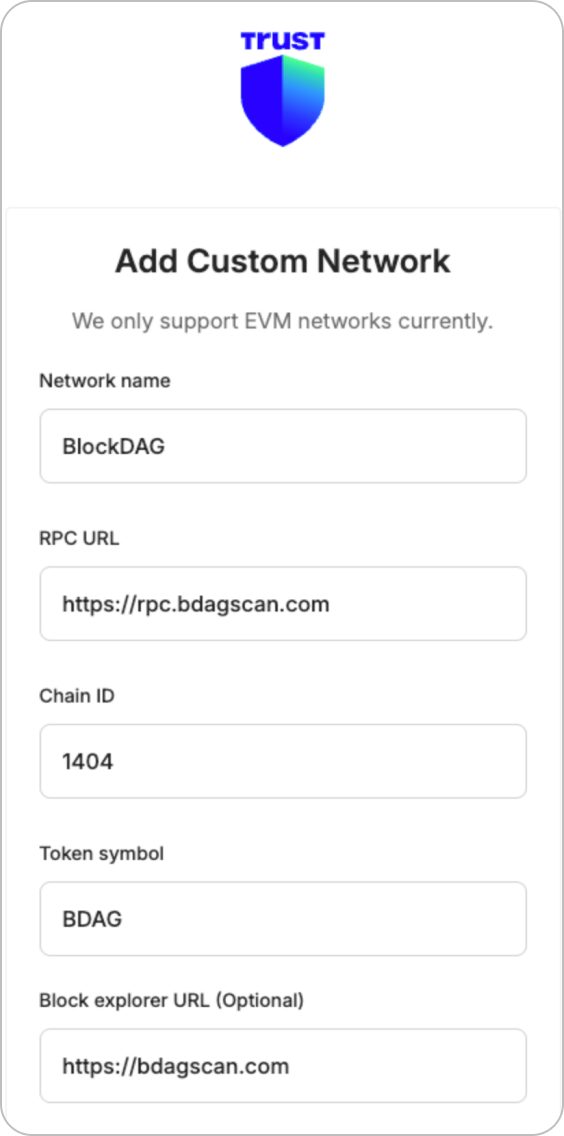
Insert the BlockDAG network name "BlockDAG Mainnet" into the field provided.
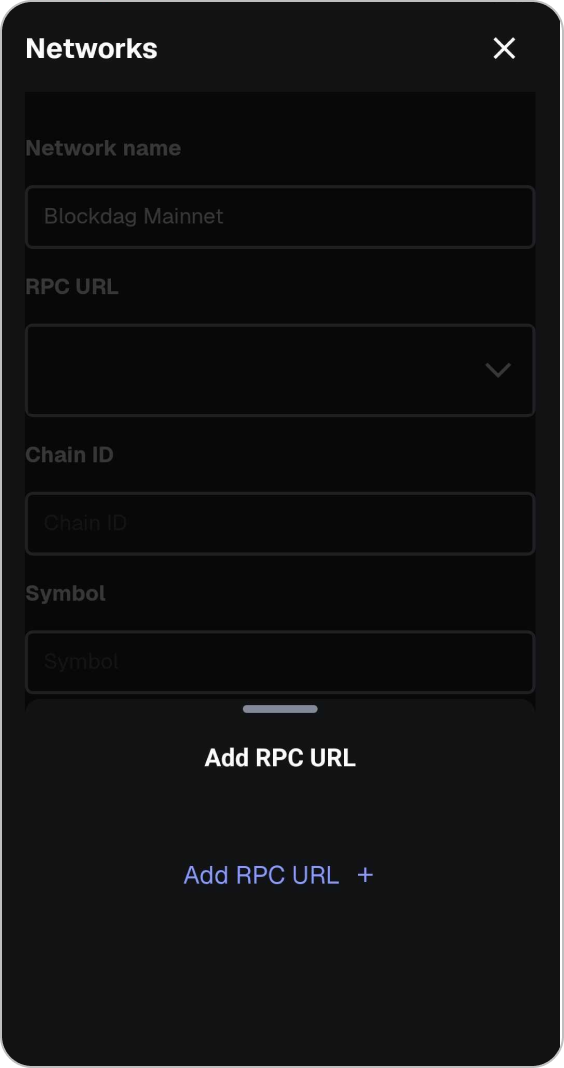
Step 4
Add RPC URL
Click on the RPC field then click "Add RPC URL +".
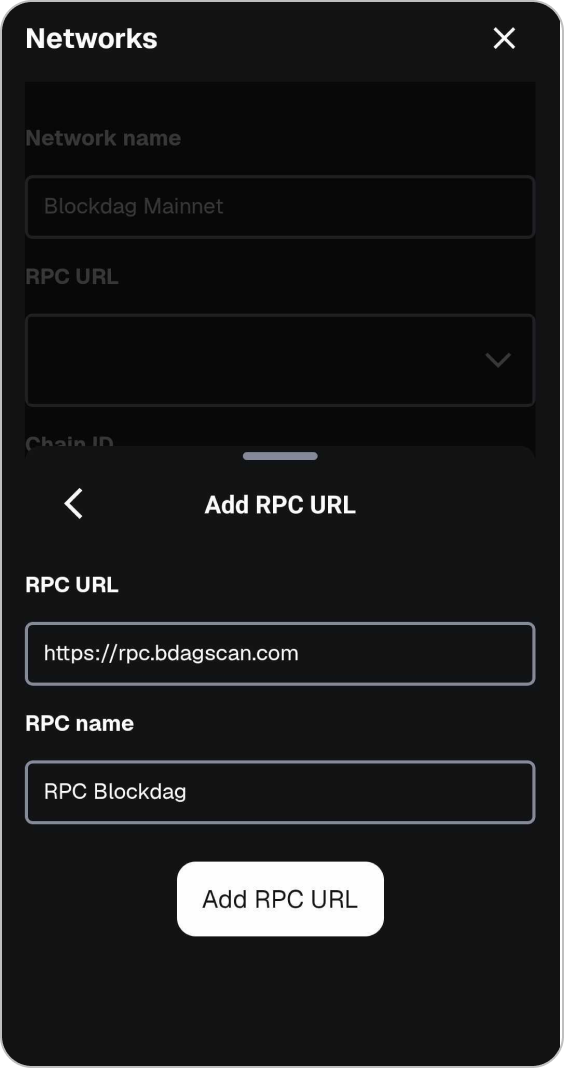
Step 5
Enter RPC URL Details
Enter the following details:
- RPC URL: https://rpc.bdagscan.com
- RPC name: RPC Blockdag
Proceed by clicking "Add RPC URL".
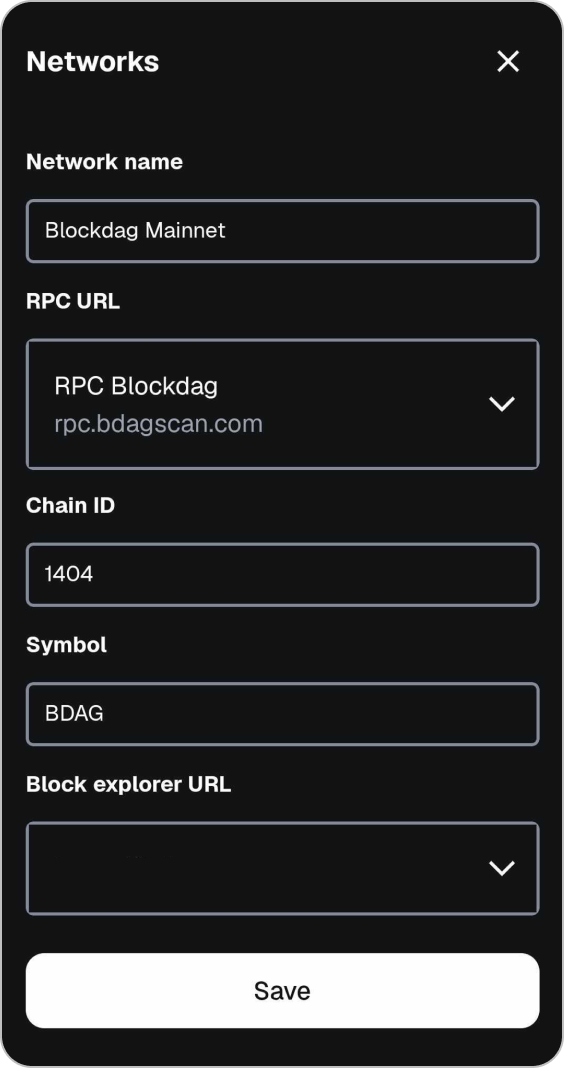
Step 6
Chain ID & Symbol Details
Enter the net Chain ID and Symbol.
- Chain ID: 1404
- Symbol: BDAG
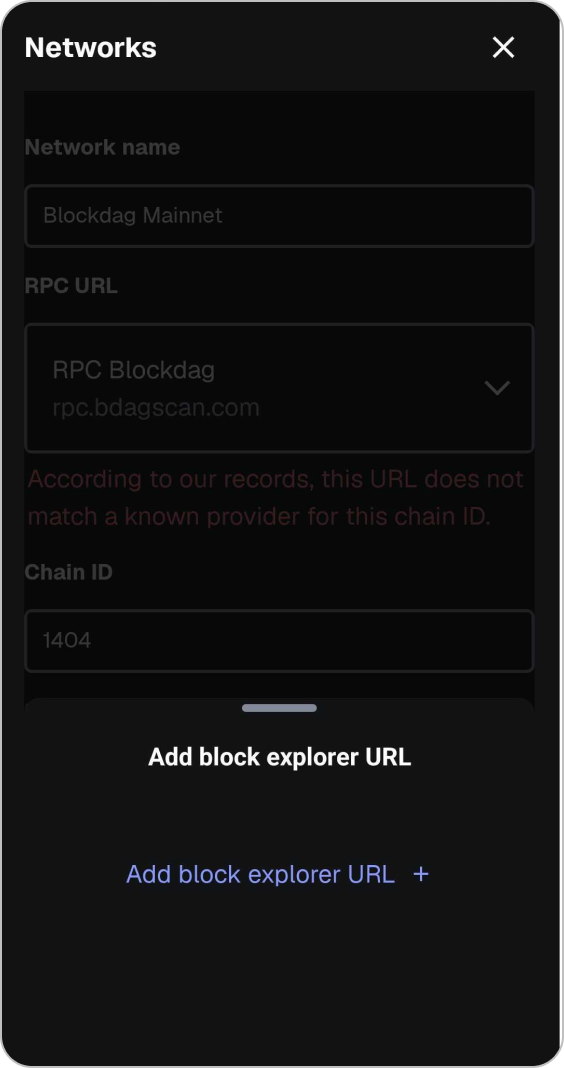
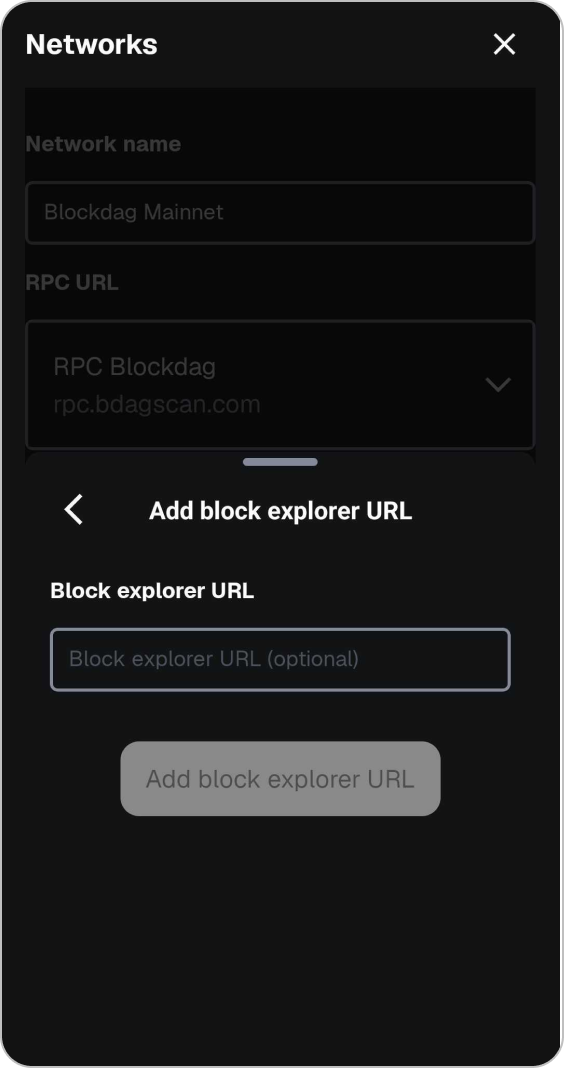
Step 7
Add Explorer URL
Click "Add Block Explorer URL +".
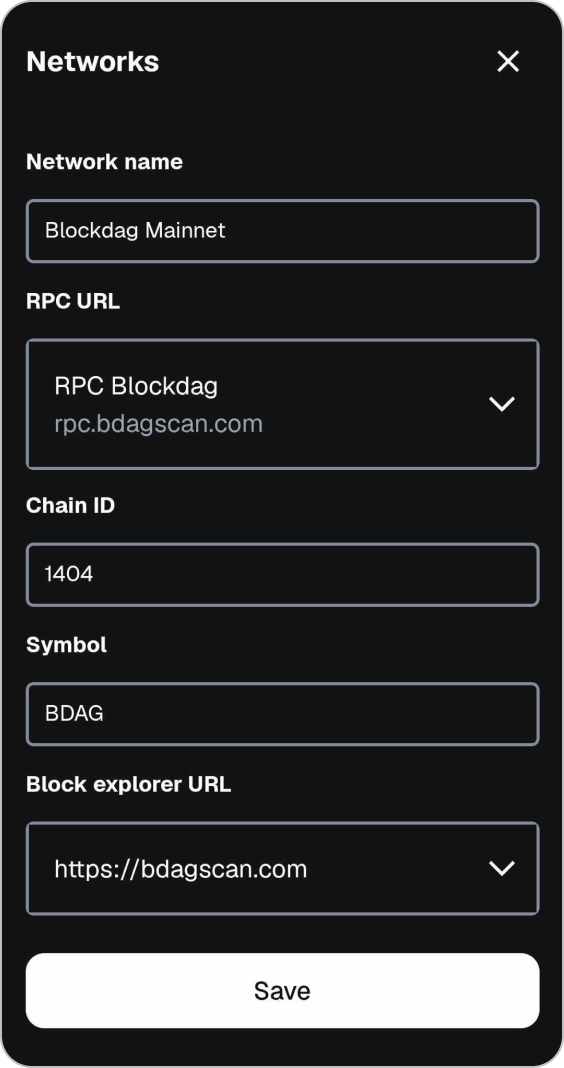
Step 9
Save Network
Click "Save" button.
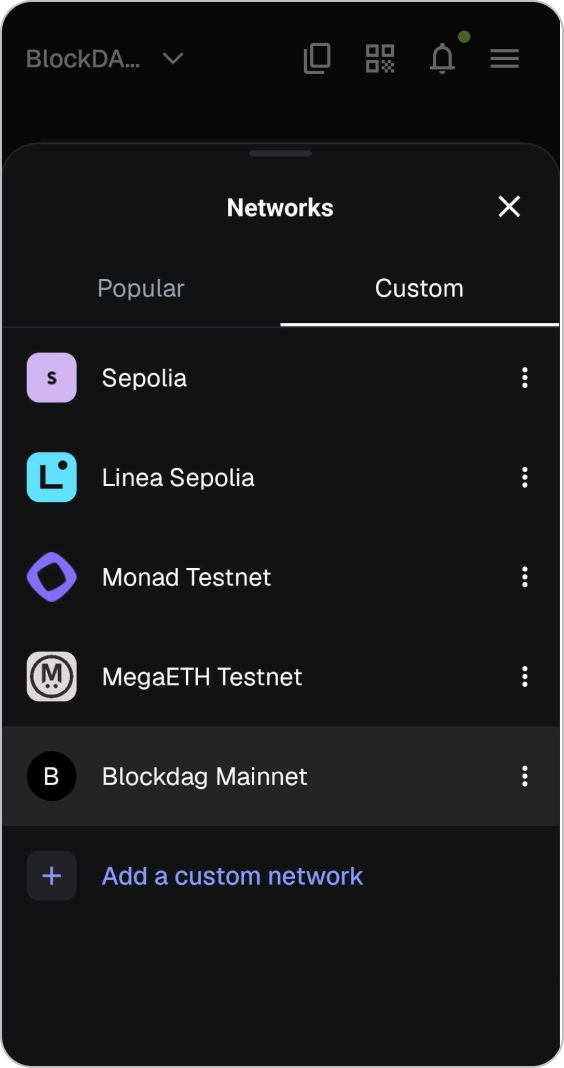
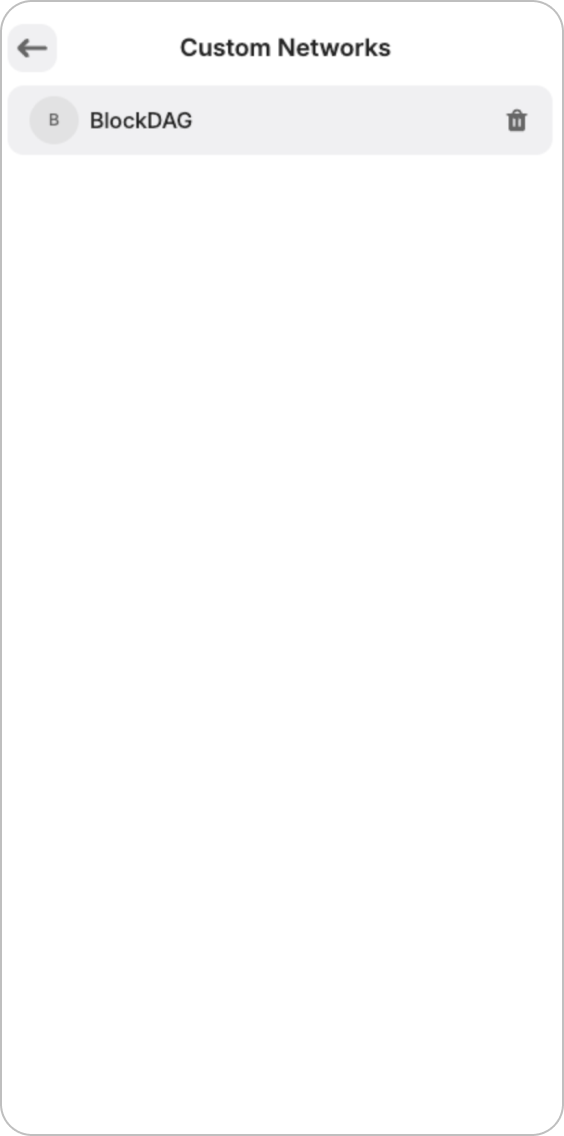
Step 10
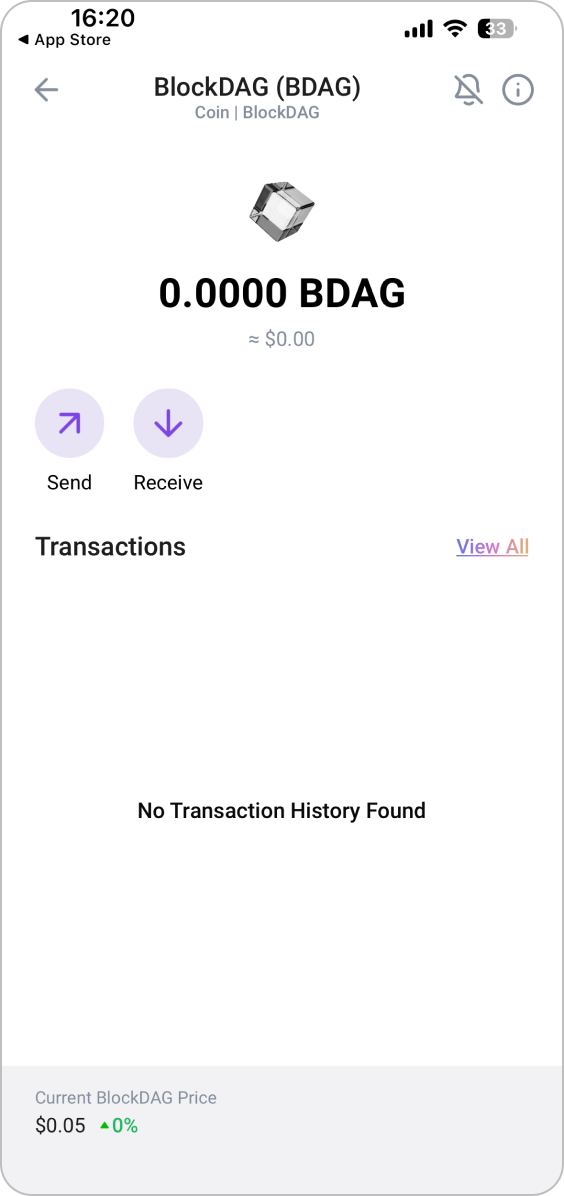
Blockdag Mainnet Loaded
You will see the BlockDAG Network loaded. Click X to close.
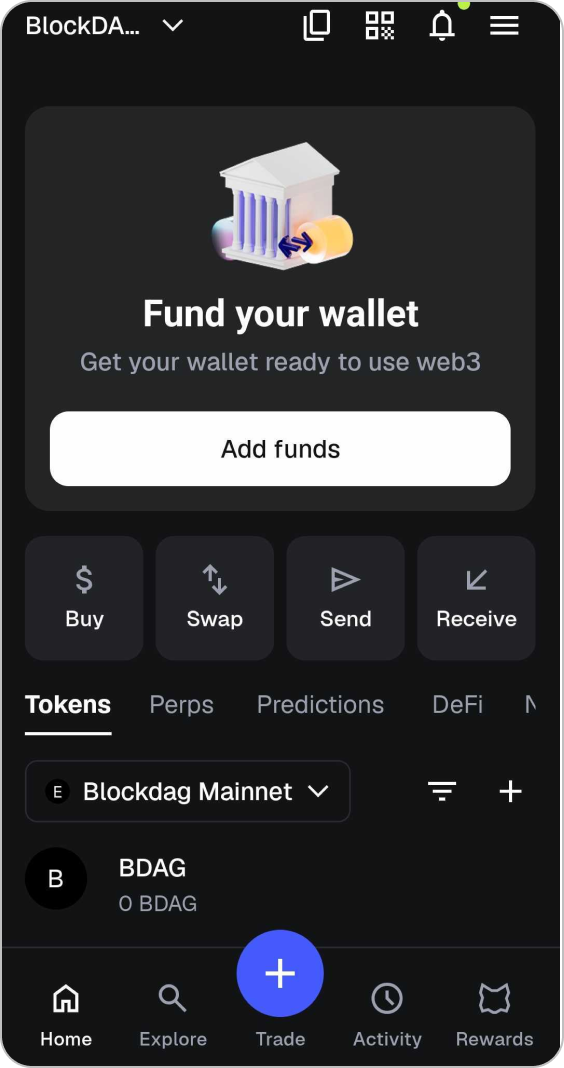
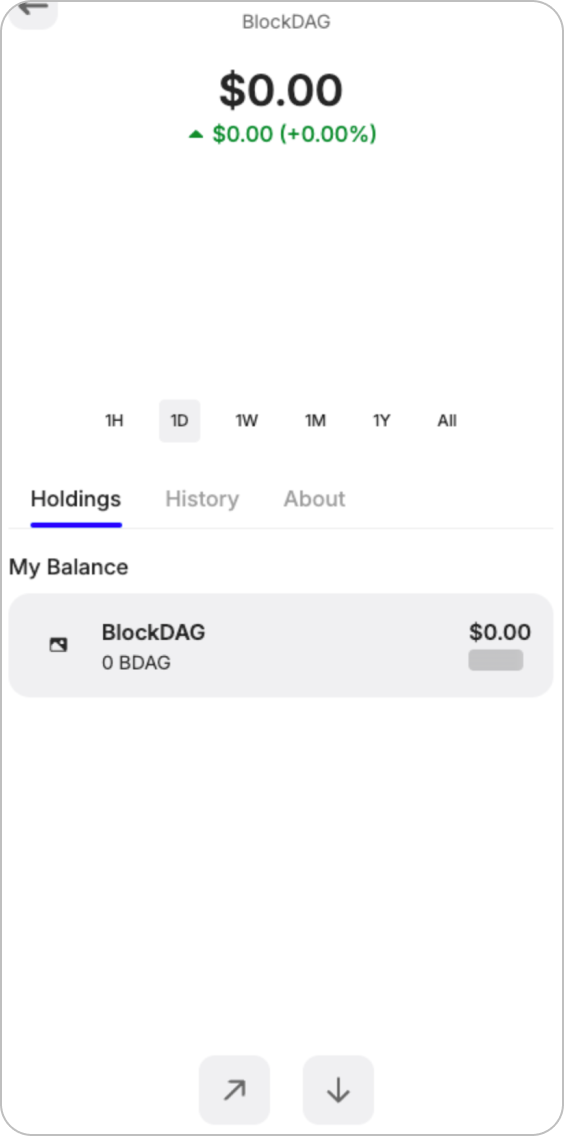
Step 11
Fund your wallet
Click "Add Funds" on your BlockDAG Mainnet Network.
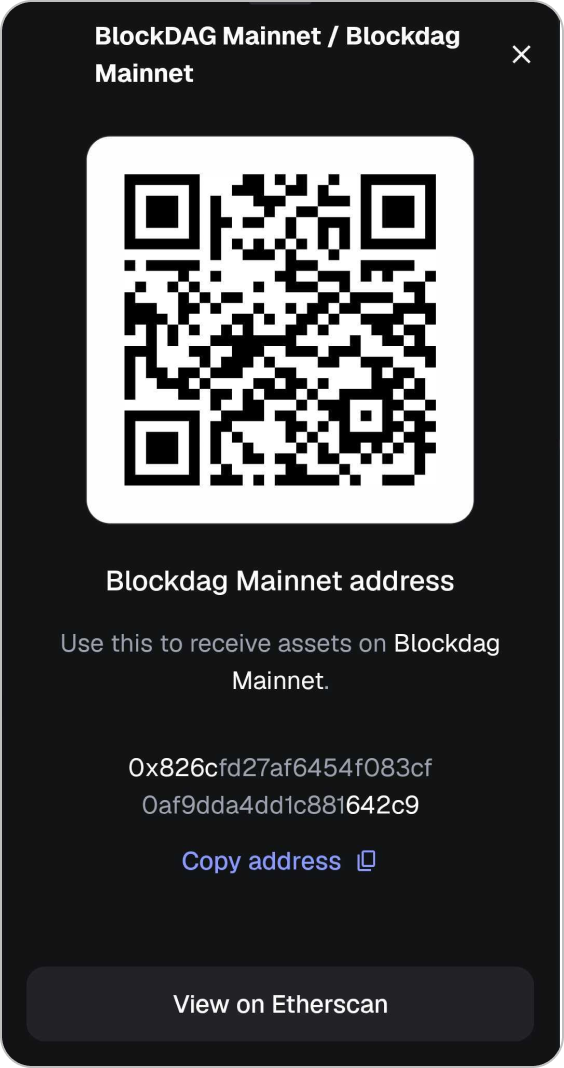
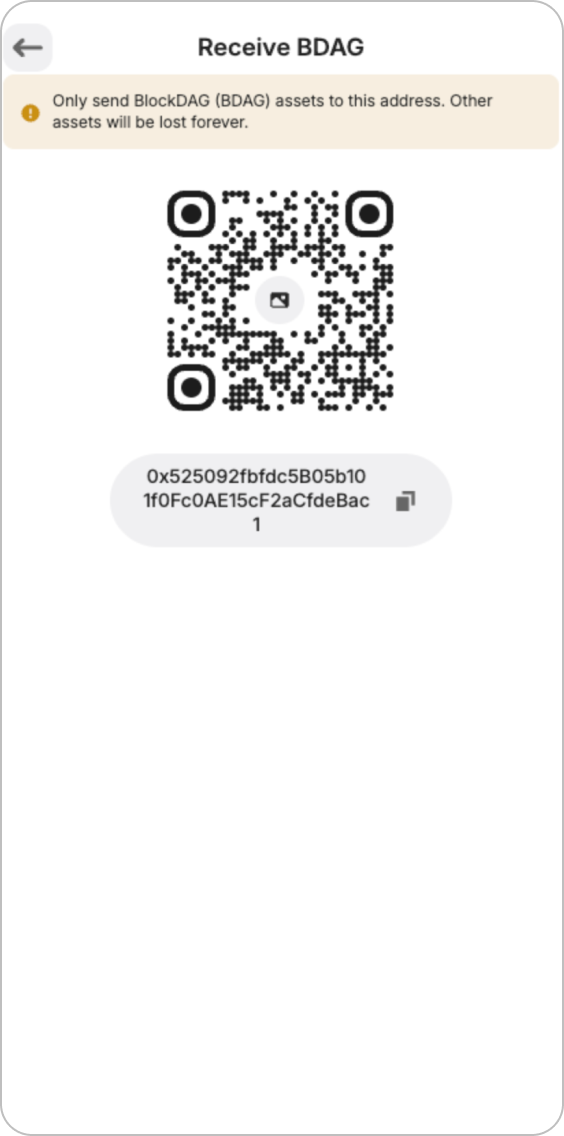
Step 12
Receive Your BDAG
Click "Copy Address" and share it to receive BDAG.
Note: Make sure that the receiver uses BDAG to transfer funds.